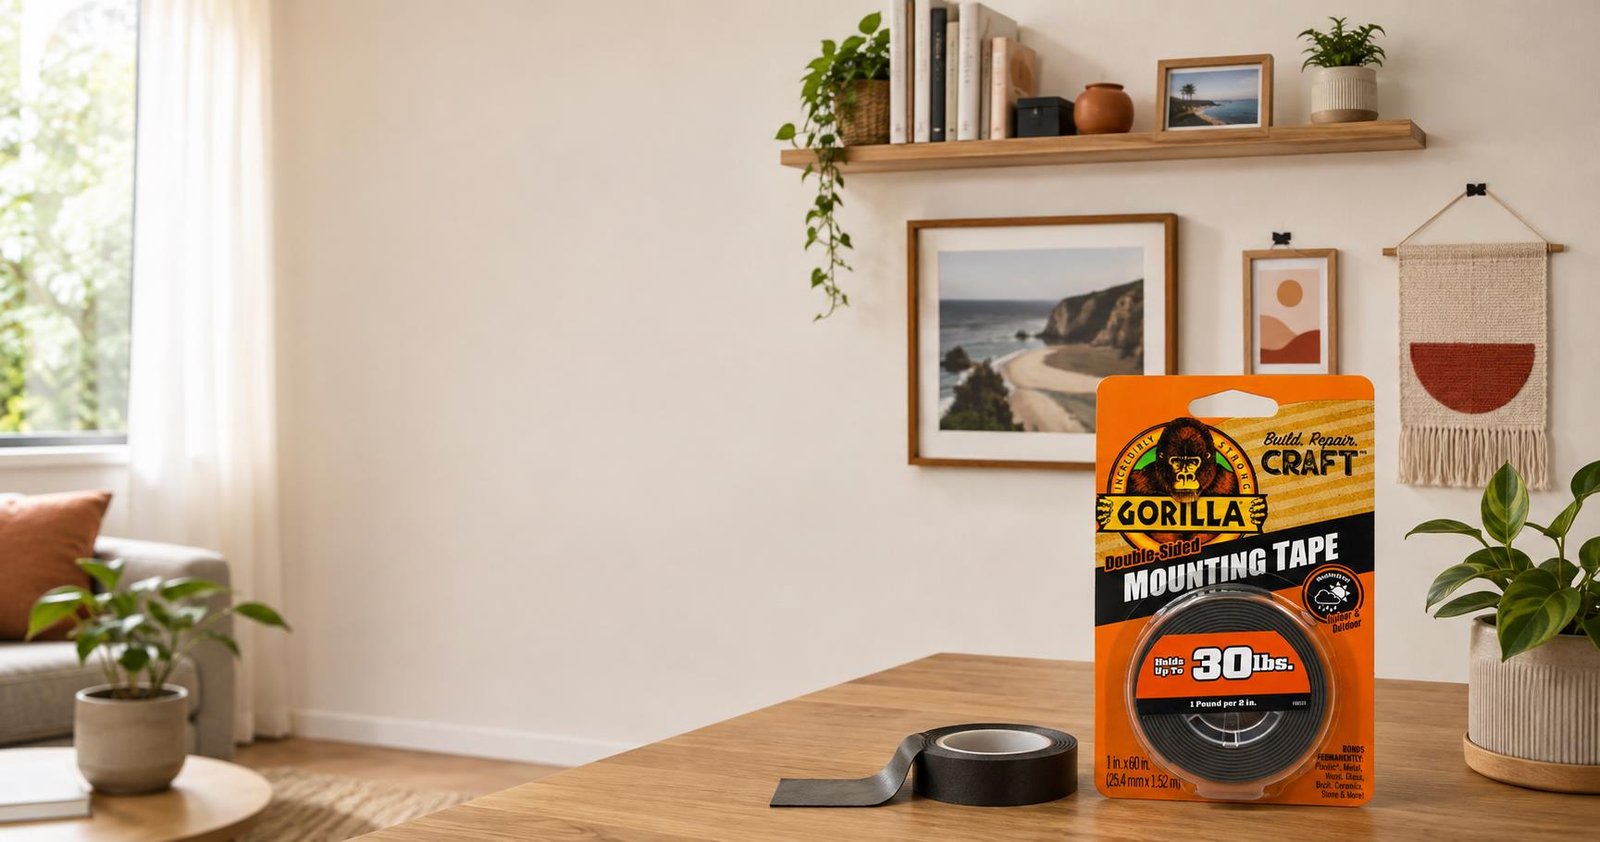
Every renter knows the moment. You’ve unpacked the last box, you’re standing in front of a blank wall, and you’re wondering how you’re meant to make this place feel like home without breaching your lease. Most agreements are pretty blunt about it: no drilling, no nailing, no patching required when you leave. Fair enough too, that’s what your bond is there to protect. But here’s the thing nobody tells you when you sign the lease: you don’t actually need a masonry bit to hang a shelf, a mirror or a wall full of prints. A decent heavy-duty mounting tape can do a lot of what drilling used to do, as long as you understand what it can hold, what it can’t, and how to use it properly. That last part matters more than people think.
What your property manager is actually worried about
Bond inspections aren’t looking for perfection, they’re looking for damage that costs money to fix. A hole from a picture hook is cheap to patch, but a lot of managing agents these days treat any wall penetration as a deduction, and some leases spell it out explicitly. Mounting tape sidesteps the whole argument because, applied and removed properly, it leaves nothing behind. Worth being clear though: this isn’t the same as the Blu Tack you used on your childhood bedroom wall. That stuff softens, smears and eventually fails under any real weight. A proper mounting tape is a different product entirely, engineered to grip and hold rather than just stick temporarily.
How much weight can mounting tape actually hold?
This is where people get ahead of themselves. As a rough rule, you want about 12 centimetres of tape for every kilogram you’re asking it to support, and that’s assuming you’ve applied it correctly across a clean, suitable surface. A small framed print weighing half a kilo needs barely a strip in each corner. A floating shelf loaded up with books, on the other hand, might be carrying three or four kilos once you account for what you’ll actually put on it, so you need proportionally more tape, spread across multiple contact points rather than one long strip doing all the work.
Where I’d draw the line, honestly, is anything heavier than about five kilos. A statement mirror or a wall-mounted TV bracket is asking too much of any tape, no matter how good it is. For those, you’re better off with a weight-rated adhesive hook system built for the job, or having an honest conversation with your landlord about a proper fixing. Tape is brilliant for shelves, art, hooks and light fixtures. It’s not a substitute for engineering.
The wall matters more than the tape does
Even the best tape fails on the wrong surface, and this is the step most people skip. Give the wall a wipe with warm soapy water or a bit of metho on a cloth, then let it dry completely before you touch it with anything adhesive. Dust, grease and the fine film that builds up on walls over time all reduce how much surface area the tape can actually grip.
Textured paint is the other trap. A lot of rental properties have that rag-rolled or slightly stippled finish, and it looks fine to the eye but it dramatically cuts the real contact area for the tape. If your walls are freshly painted, hold off for two to four weeks before mounting anything. Fresh paint keeps curing long after it feels dry, and tape applied too early can pull the paint straight off when it eventually gives way.
Get the application right the first time
Press firmly along the entire length of the strip, not just a quick pat in the middle. You’re looking for even, sustained pressure across the whole contact area, because that’s what forces out air pockets and lets the adhesive actually bond to the surface texture. Most tapes also need a settling period, often around an hour, before you load them with real weight. Hang the shelf empty first, walk away, make a cup of tea, then come back and load it up. Skipping this step is the single most common reason people think mounting tape “doesn’t work” when really they just rushed it.
Taking it all down without leaving a trace
This is the part that actually gets renters their bond back, so it’s worth doing properly. Don’t just yank the object off the wall, because that’s how you end up pulling paint with it. The trick is to work the bond apart slowly, either by warming the tape gently with a hairdryer to soften the adhesive, or by running a length of dental floss or fishing line behind the tape and sawing it sideways to slice through the bond rather than tear it.
Once the object’s off, there’ll usually be some tape residue left on the wall. A little eucalyptus oil or a proper adhesive remover on a soft cloth will lift it without you needing to scrub, which is exactly what you want to avoid on painted plaster. Take your time here. Rushing the removal is where most of the damage happens, not the original hanging.
Renting doesn’t have to mean living with bare walls for years on end. With the right tape, a bit of patience on prep and application, and a careful hand at removal time, you can hang shelves, art and mirrors that look properly fixed and come down just as cleanly when it’s time to move on. Start with one or two pieces, see how they hold over a few weeks, and build your confidence from there before you commit to a full gallery wall.