There’s a moment early in most paving projects where excitement takes over. You’re picturing a herringbone pattern out the front, or a smart charcoal driveway that finally makes the house look finished. That’s the fun part. But it’s also where a lot of projects come unstuck, because the pattern and the colour are decisions for later. Before any of that, you need to work through the practical stuff: what the space needs to do, what your budget can stretch to, and how your soil, drainage and Perth’s weather will treat whatever goes down. Get a head start by talking things through with an experienced team like Atlas Paving before you’ve locked in a look. It tends to save homeowners a fair bit of money and frustration down the track.
1. Work Out What the Space Actually Needs to Do
Before you look at a single sample tile, figure out the job the paving has to do. A driveway that carries the family car, a trailer and the odd tradie’s ute needs a thicker paver and a stronger base than a path winding through the garden. A pool surround needs slip resistance and heat tolerance underfoot, not just good looks, and a commercial forecourt taking regular forklift traffic is a different engineering problem altogether.
This matters because the intended use drives almost every decision that follows, from paver thickness to base depth to the type of edge restraint you’ll need. In our experience, the regret homeowners voice most often isn’t about the colour they picked. It’s discovering a year in that the driveway can’t really cope with the boat trailer parked on it three times a week.
2. Set a Realistic Budget, and Build in Some Breathing Room
Paving costs come from more than the pavers themselves, so before you settle on a number it helps to know what you’re actually paying for:
- The pavers or material you choose
- Excavation and base preparation
- Drainage work, including falls and any subsoil drains
- Site access, since a tight side gate or steep block adds labour
- Labour and installation
- Edging, jointing sand and finishing touches
Base preparation tends to surprise people because it’s invisible once the job is done, but it’s usually the biggest factor in whether paving lasts twenty years or needs redoing in five. On top of your quote, set aside another 10 to 15 percent as a buffer. Excavation sometimes turns up old tree roots, rock or drainage issues nobody could have seen from the surface, and that buffer keeps a surprise from stalling the whole project.
3. Understand Your Site and Perth’s Climate
Western Australia’s soil varies enormously from one suburb to the next, and that has a real bearing on how your paving is built. Reactive clay soils, common in parts of the eastern and southern suburbs, expand and contract with moisture and can cause pavers to lift or shift if the base isn’t prepared properly. Sandy soils closer to the coast drain well, which is a plus, but they need firm compaction and solid edge restraints to stop pavers creeping over time.
Then there’s the weather itself. Perth’s summer sun can fade some materials over the years, while homes near the coast deal with salt-laden air that some pavers handle better than others. None of this should scare you off paving, but it’s exactly why a one-size-fits-all approach doesn’t work, and why it pays to have someone assess your actual site, not just your plans.
4. Get a Feel for Your Material Options
You don’t need to become a materials expert before you start, but it helps to know broadly what’s out there so quotes make sense when they land.
- Concrete pavers: the most versatile and budget-friendly option, available in a huge range of colours, shapes and finishes.
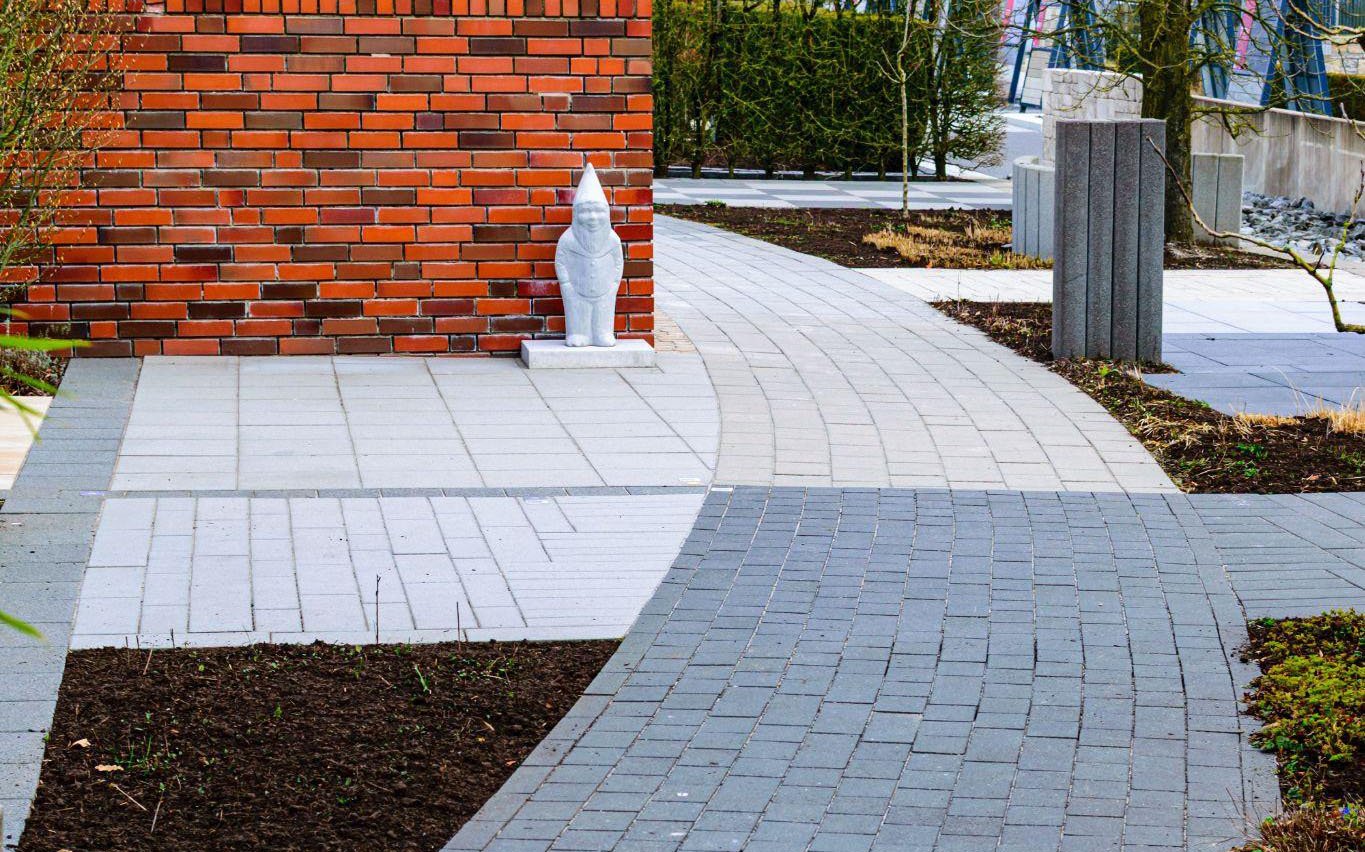
- Clay bricks: rich, natural colour that doesn’t fade because it’s baked into the material, popular for character homes.
- Natural stone: a premium look with no two pavers quite the same, generally the highest cost option.
- Permeable pavers: let water drain through the surface rather than running off, useful if your council has drainage requirements or your block struggles with runoff.
Each comes with trade-offs in cost and maintenance, and that’s worth its own conversation once you’ve settled the fundamentals covered here.
5. Decide Whether to DIY or Call in a Professional
Plenty of keen homeowners tackle small paving jobs themselves, and a simple garden path is a reasonable weekend project if you’re handy. But be honest about the scale of what you’re planning. Base preparation, correct falls for drainage and consistent compaction are unforgiving. Get them slightly wrong and you’ll see pooling water or sunken pavers a year or two later, and by then it costs more to fix than it would have to do properly the first time.
Prep work is the bulk of whether a paving job lasts, and it’s the hardest part to get right without the right experience or equipment. For anything beyond a small, low-traffic area, calling in a professional isn’t just convenience. It genuinely cuts the risk of an expensive redo.
6. Map Out Your Timeline and Check What Approvals You Need
Paving projects usually take longer than people expect, so it’s worth mapping out a rough timeline early. Larger driveways or commercial areas can take anywhere from several days to a few weeks once you include excavation, base work, laying and jointing.
You’ll also want to check whether your project needs council approval, particularly for verge crossovers, changes to stormwater drainage, or work near a boundary. If you’re in a strata property, check the by-laws too, since some require sign-off before you touch common areas or change a lot’s street-facing look. Winter in Perth brings enough rain to slow excavation and curing, so aim for the drier months if you can. Order your materials early as well, since popular pavers can have lead times of several weeks.
Getting the Groundwork Right
Paving a driveway, courtyard or commercial space is a genuinely satisfying project, but the best results start well before anyone picks up a compactor. Nail down what the space needs to do, get real about your budget, understand your soil and climate, and decide early whether you’re doing it yourself or bringing in the professionals. Get those fundamentals sorted and choosing the actual pavers becomes the easy, enjoyable part.
When you’re ready to talk through the details, the team at Atlas Paving is happy to help you plan a project that’s built to last.