Installing a new air conditioning system is a significant step toward maintaining comfort and energy efficiency in your home. However, a smooth installation requires preparation to ensure the process is efficient and safe. We will explore the steps homeowners should take before technicians arrive, covering both indoor and outdoor preparations. Being proactive not only makes the installation quicker but also helps protect your property, allowing HVAC professionals to focus entirely on setting up your system correctly. Preparation involves cleaning and clearing spaces, checking for potential obstacles, and ensuring that all necessary electrical and structural requirements are in place for the new unit. A well-prepared home ensures that your investment is installed without unnecessary delays or complications.
Preparing Your Home for a Successful AC Installation
Clear the Installation Area
The first step in preparing for an AC installation in Broken Arrow is ensuring that the area around the indoor and outdoor units is clear of any obstructions. Indoors, this means moving furniture, decor, and any fragile items away from walls where vents, ducts, or the indoor unit will be installed. Technicians need sufficient space to access walls and floors, connect ducts, and safely place equipment without risk of damage. Outdoors, clear the space around the condenser unit and any pathways leading to it. Trim bushes, move garden furniture, and remove any debris that could block airflow or hinder access. A clear area allows the installation to proceed smoothly and reduces the risk of accidental damage to your property. It also ensures the AC unit can operate efficiently once installed.
Check Electrical Requirements
Air conditioning units require specific electrical connections, often including dedicated circuits and outlets that can handle high power loads. Before installation, inspect your home’s electrical panel to ensure it meets the manufacturer’s specified requirements. This may involve verifying that the breaker size matches the unit’s power requirements and that the outlets are functioning properly. If upgrades are needed, arranging for an electrician to make adjustments in advance will prevent delays on installation day. Additionally, check for proper grounding and surge protection, which are crucial for the safe operation of your AC. Proper electrical preparation ensures that the system operates reliably and reduces the risk of safety hazards during and after installation.
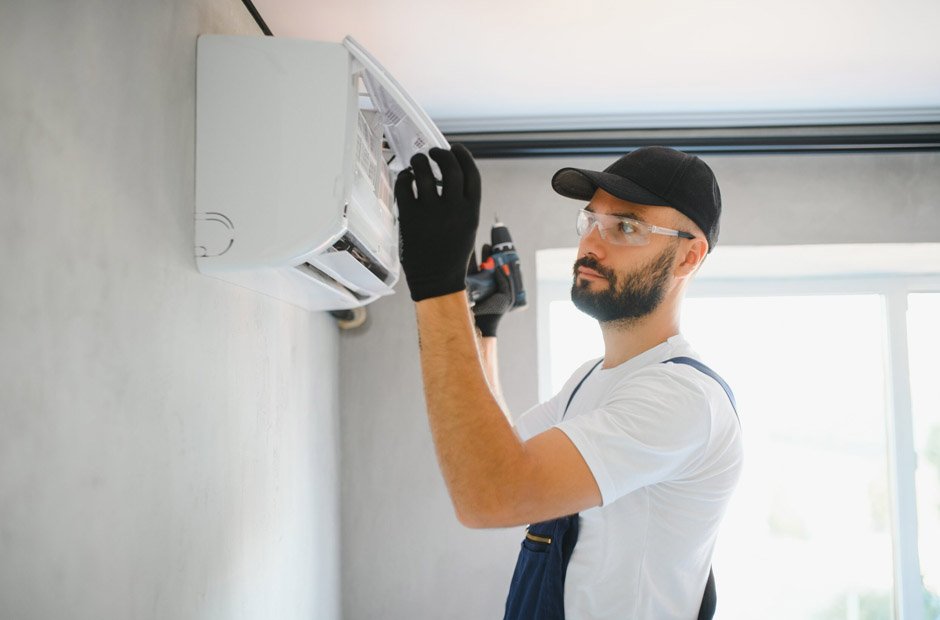
Inspect and Prepare Ductwork
If your home uses a central air system, inspecting the existing ductwork is a crucial preparatory step. Look for leaks, blockages, or damaged sections that could compromise airflow. Cleaning ducts and sealing any gaps ensures the new system delivers consistent cooling throughout your home. If your installation involves a ductless system, ensure that the wall or ceiling space where the unit will be mounted is clear and structurally sound. Properly prepared ducts or installation points reduce installation time and improve the system’s efficiency. Technicians can focus on connecting the system rather than troubleshooting airflow issues, ensuring the AC performs optimally from the start.
Plan for Outdoor Equipment Placement
The condenser unit, located outside, requires a flat, stable surface with sufficient clearance for airflow and easy maintenance access. Before installation, select a suitable location that is away from windows, patios, or high-traffic areas. The surface should be level and firm, such as a concrete pad or compacted gravel. Ensure there is at least two to three feet of clearance around the unit and five feet above it to allow air to circulate freely. Avoid placing the unit near plants or structures that could restrict airflow or increase the need for maintenance. Proper placement enhances efficiency, prolongs the unit’s lifespan, and prevents potential noise or vibration issues that could affect your home.
Remove Obstacles and Personal Items
AC installation often involves bringing in ladders, tools, and large components, which can accidentally damage floors, walls, or personal items. Remove fragile items, rugs, or electronics from the installation area. Protect flooring with covers if needed and ensure pets and children are kept away from the work zones. Preparing your home in this way minimizes the risk of accidental damage and creates a safer environment for both the technicians and your family. Being mindful of obstacles also allows the team to work more efficiently, potentially reducing labor time and installation costs.
Ensure Accessibility for Technicians
Providing clear access to all areas where the AC components will be installed is critical. This includes indoor wall units, attic or basement spaces for ductwork, and outdoor condenser locations. Remove clutter from hallways, garages, or storage areas that technicians may need to navigate. If any doors, gates, or locks could restrict access, make arrangements to unlock them in advance. Accessibility reduces the chances of interruptions during installation and ensures that the system can be installed according to the manufacturer’s specifications. When technicians have unrestricted movement, the installation is smoother, faster, and less stressful for everyone involved.
Review System Placement and Preferences
Before installation day, review the layout and placement of all AC components with the technician to ensure they are properly positioned. Discuss thermostat locations, vent placement, and any specific preferences regarding airflow or zoning. This conversation ensures that your cooling system meets your home’s unique needs and avoids the need for potential adjustments after installation. Confirming details in advance helps the installation team plan their work efficiently and ensures your comfort needs are met from the start. Additionally, discussing maintenance access points and visibility of units can save time and effort for future upkeep or repairs.
Preparing your home for an AC installation requires careful planning and attention to detail, but the effort pays off with a smoother, faster, and safer installation process. By clearing spaces, checking the readiness of electrical and ductwork, planning the outdoor unit’s placement, and coordinating with the installation team, homeowners can minimize disruptions and protect their property. Additionally, understanding local requirements and anticipating temporary inconveniences ensures a stress-free experience. Proper preparation sets the stage for your new air conditioning system to operate efficiently and comfortably, providing lasting relief from heat while protecting your investment for years to come.