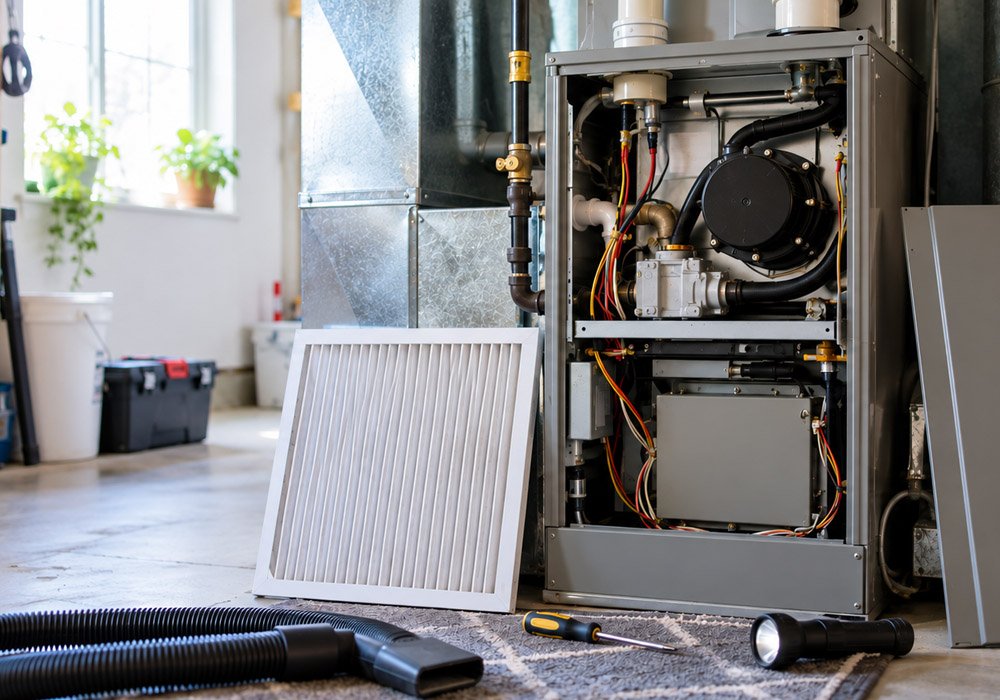
There is a particular kind of quiet panic that comes with turning on your furnace for the first time on a cold October night and hearing… nothing. Maybe a click. Maybe a weak rumble. Maybe a smell that makes you wonder if something is burning. If you have ever been there, you know that the cheapest furnace repair is the one you never need, and that starts with seasonal furnace maintenance done before the weather turns.
The problem is that most homeowners only think about their furnace when it stops working. By then, you are calling every HVAC company in town hoping someone can squeeze you in between emergency calls, and you are paying premium prices for the privilege. A little preparation in early fall prevents nearly all of that.
This checklist walks through twelve tasks to complete before the first cold snap hits. Some take five minutes. A few require a professional. All of them are worth your time.
1. Replace or Clean Your Filter
Start here because this is the single most neglected task in home heating. A clogged filter restricts airflow, which forces your furnace to work harder, raises your energy bill, and can eventually cause the limit switch to trip or the heat exchanger to overheat.
Check what type of filter your system uses. Disposable filters should be replaced every one to three months depending on your household. If you have pets, allergies, or a dusty home, lean toward the shorter end. Washable filters just need a rinse and full dry before going back in.
Do this now, then set a recurring reminder on your phone so it actually happens again in December.
2. Test the Furnace Before You Need It
Do not wait for the first cold night to find out whether your furnace works. On a mild September or early October day, turn the thermostat to heat, set it a few degrees above room temperature, and let it run for twenty to thirty minutes.
You might notice a slight burning smell the first time it fires up. That is usually dust burning off the heat exchanger after months of sitting idle, and it should fade within an hour. What you do not want is a strong burning smell, visible smoke, or a unit that runs for a few minutes and shuts itself off. Those are signs something needs attention.
3. Check and Clear the Area Around the Furnace
Head down to the basement or utility closet and look at the space around the unit itself. There should be at least a few feet of clearance on all sides, especially near the burner and the blower compartment.
This matters more than people realize. Boxes stacked against the furnace restrict airflow and create a fire hazard. Laundry lint drifting off a nearby dryer can get pulled into the blower. Paint cans, gasoline, and other flammables should never live in the same room as a gas appliance. Clear the clutter now and keep it clear all winter.
4. Inspect the Flue and Vent Pipes
The flue pipe carries combustion gases out of your home. Over the summer, things happen. Birds nest in exterior vents. Pipes shift. Joints loosen. Debris collects.
Walk the visible length of the flue from the furnace to where it exits the house. Look for gaps, rust spots, sagging sections, or anything that clearly does not belong. Outside, check that the exhaust and intake terminals are free of nests, leaves, and snow-blocking debris. If you see soot around the flue, that is a red flag and worth a professional look.
5. Vacuum Dust From the Blower Compartment
If you are comfortable removing the front panel, you can gently vacuum accumulated dust from around the blower motor and its cage. Use a soft brush attachment and be careful around wiring. Skip this one if opening the panel makes you nervous, and mention it to your technician at the fall tune-up instead.
Dust buildup on the blower blades throws off the balance and makes the motor work harder, which shortens its life. A few minutes of careful cleaning goes a long way.
6. Lubricate the Blower Motor (If It Has Oil Ports)
Some older blower motors have oil ports on the bearing caps. A drop or two of light machine oil once a year keeps the bearings quiet and extends the motor’s life. Newer motors are usually sealed and need nothing, so check your manual or the label on the motor itself before adding anything.
7. Check the Thermostat
A thermostat can drift out of calibration over time or simply stop communicating with the furnace. Turn the system to heat and raise the temperature setting. The furnace should kick on within a minute or so.
If you have a smart thermostat, this is also a good moment to review the schedule. Summer schedules rarely match winter needs, and a few minutes of adjustment now saves real money over the season. If your thermostat runs on batteries, replace them.
8. Test Carbon Monoxide Detectors
This one is not optional. Every home with any fuel-burning appliance needs working carbon monoxide detectors, ideally on each floor and near sleeping areas. Press the test button, replace batteries, and swap out any detector that is more than seven to ten years old.
A cracked heat exchanger can leak carbon monoxide into your home with no smell and no warning. Detectors are cheap. Test them now, before the heating season, not after.
9. Inspect Visible Ductwork and Registers
Walk the house and open every supply register. Closed vents do not save money, and they actually create pressure imbalances that make the whole system less efficient. While you are at it, check for furniture or rugs blocking airflow.
In the basement, glance at accessible ductwork for disconnected joints or gaps at the seams. Small leaks waste a surprising amount of heated air. Duct sealing is a bigger project, but knowing where the leaks are gives you a head start.
10. Listen for Unusual Sounds During a Full Cycle
Run the furnace through a complete cycle and just listen. A healthy furnace has a steady hum. Concerning sounds include scraping (possible blower wheel issues), squealing (worn belt or bearing), banging or booming (ignition problems or duct expansion), and rattling (loose panels or components).
Write down anything you hear. Even if the furnace seems to run fine, that note is useful for a technician diagnosing a small problem before it becomes a big one.
11. Schedule a Professional Tune-Up
Here is the honest part: homeowner maintenance covers a lot, but it does not cover everything. A trained technician will inspect the heat exchanger for cracks, check the gas pressure and ignition system, test the safety controls, measure airflow, clean the burner assembly, and verify that the unit is burning cleanly and efficiently.
Annual professional service catches problems that are invisible to the untrained eye, and it keeps most manufacturer warranties valid. Book it in September or October. Once the first cold snap arrives, every reputable company in town is booked solid, and you may wait days for an appointment.
12. Stock Up on Filters and Know Your Emergency Numbers
Two small tasks that pay off later. Buy a few spare filters now so you are not running to the hardware store in a January storm. And save the number of a trusted local HVAC company in your phone before you need it, because the middle of a heating emergency is the worst time to be reading reviews.
A Few Final Thoughts
None of these tasks are complicated, and most of them take less time than watching an episode of something. Together, they add up to a heating system that starts reliably, runs efficiently, and is far less likely to fail on the coldest night of the year.
The pattern is always the same. The homeowners who spend an afternoon on fall preparation sail through winter. The ones who skip it end up on a first-name basis with emergency service techs. Do the work now, while the weather is still mild and the schedule is still yours.