The Apple MacBook Air is a masterpiece of minimalist design—impossibly thin, remarkably powerful, and ready to travel anywhere. Yet that sleek aluminum chassis comes with a trade-off that frustrates countless users daily: a severe shortage of ports. When you need to charge your laptop, connect an external monitor, transfer files to a hard drive, and plug in a USB peripheral simultaneously, two Thunderbolt ports simply aren’t enough. This connectivity bottleneck forces professionals, students, and creatives into awkward workarounds that slow down otherwise efficient workflows. The solution lies in choosing the right accessories—specifically docking stations, multi-port USB hubs, and high-speed data transfer adapters designed to expand your MacBook Air’s capabilities without compromising performance. This guide is built for MacBook Air users who demand more from their setup. In the sections ahead, we’ll break down your connectivity needs, explore essential accessory categories including 100W power delivery options, walk through a step-by-step selection process, and show you how to integrate everything for a streamlined, productive workspace.
Understanding Your MacBook Air’s Connectivity Needs
Modern MacBook Air models ship with just two Thunderbolt/USB-C ports on the left side and a MagSafe charging port. While MagSafe frees up one USB-C slot, you’re still left with only two versatile connections to handle everything from external displays and storage devices to audio interfaces and card readers. For anyone juggling multiple peripherals—a designer connecting a 4K monitor and a drawing tablet, a developer running an external SSD alongside a mechanical keyboard, or a student plugging in a presentation dongle while charging—these two ports create a constant game of musical chairs.
This limitation directly impacts daily productivity. Every time you unplug one device to connect another, you break focus and introduce friction into your workflow. File transfers get delayed, meetings start awkwardly as you fumble for the right adapter, and your desk becomes a tangle of single-purpose dongles. The MacBook Air delivers exceptional processing power and battery life, but unlocking its full potential requires external accessories that restore the connectivity range professionals expect. Understanding exactly what you need—whether that’s high-speed data transfer for video editing, reliable power delivery during marathon work sessions, or simply more USB ports for everyday peripherals—is the critical first step toward building a setup that works as seamlessly as the laptop itself.
Essential Apple MacBook Accessories for Seamless Workflows
Bridging the gap between your MacBook Air’s limited ports and your actual connectivity demands requires the right combination of Apple MacBook accessories. Rather than accumulating a drawer full of single-purpose adapters, investing in well-chosen expansion tools transforms your ultraportable laptop into a fully capable workstation. The accessories that matter most fall into four categories: docking stations that serve as centralized connection points, power delivery solutions that keep your MacBook charged under heavy loads, multi-port USB hubs for flexible expansion, and high-speed data transfer adapters for moving large files efficiently.
MacBook Air Docking Station: Your Central Hub for Connectivity
A MacBook Air docking station acts as a single-cable solution that connects your laptop to an entire desk setup—monitors, storage, peripherals, and power—through one Thunderbolt or USB-C connection. Instead of plugging and unplugging multiple cables every time you sit down to work, you dock once and everything activates instantly. When evaluating docking stations, prioritize port variety that matches your specific peripherals. Look for models offering at least one HDMI or DisplayPort output for external monitors, multiple USB-A ports for legacy devices, an SD card reader if you work with cameras, and Ethernet for stable network connections. Compatibility matters significantly here; confirm that the dock supports your specific MacBook Air generation and its Thunderbolt protocol version. A quality docking station eliminates desk clutter, reduces wear on your MacBook’s ports, and creates a consistent workspace you can rely on whether you’re at home or in the office.
100W Power Delivery: Ensuring Reliable Charging for Demanding Tasks
Power delivery becomes critical when your MacBook Air is connected to multiple peripherals drawing energy through a hub or dock. The MacBook Air typically charges at 30W to 67W depending on the model, but accessories that support 100W power delivery provide a comfortable overhead that ensures your laptop charges at full speed even while powering connected devices. This matters most during intensive workflows—video calls while transferring files, or running external displays alongside USB peripherals—where insufficient power delivery means your battery drains despite being “plugged in.” Brands like MOKiN have focused on delivering reliable pass-through charging solutions that meet these demanding power requirements. When selecting accessories with pass-through charging, verify that the power delivery specification meets or exceeds your MacBook Air’s maximum charging wattage. Safety features like overcurrent protection, temperature monitoring, and certified USB-C PD compliance prevent damage to your laptop’s battery over time. Reliable power delivery means you never have to choose between charging your MacBook and using your peripherals simultaneously.
Multi-Port USB Hub: Expanding Your MacBook’s Capabilities
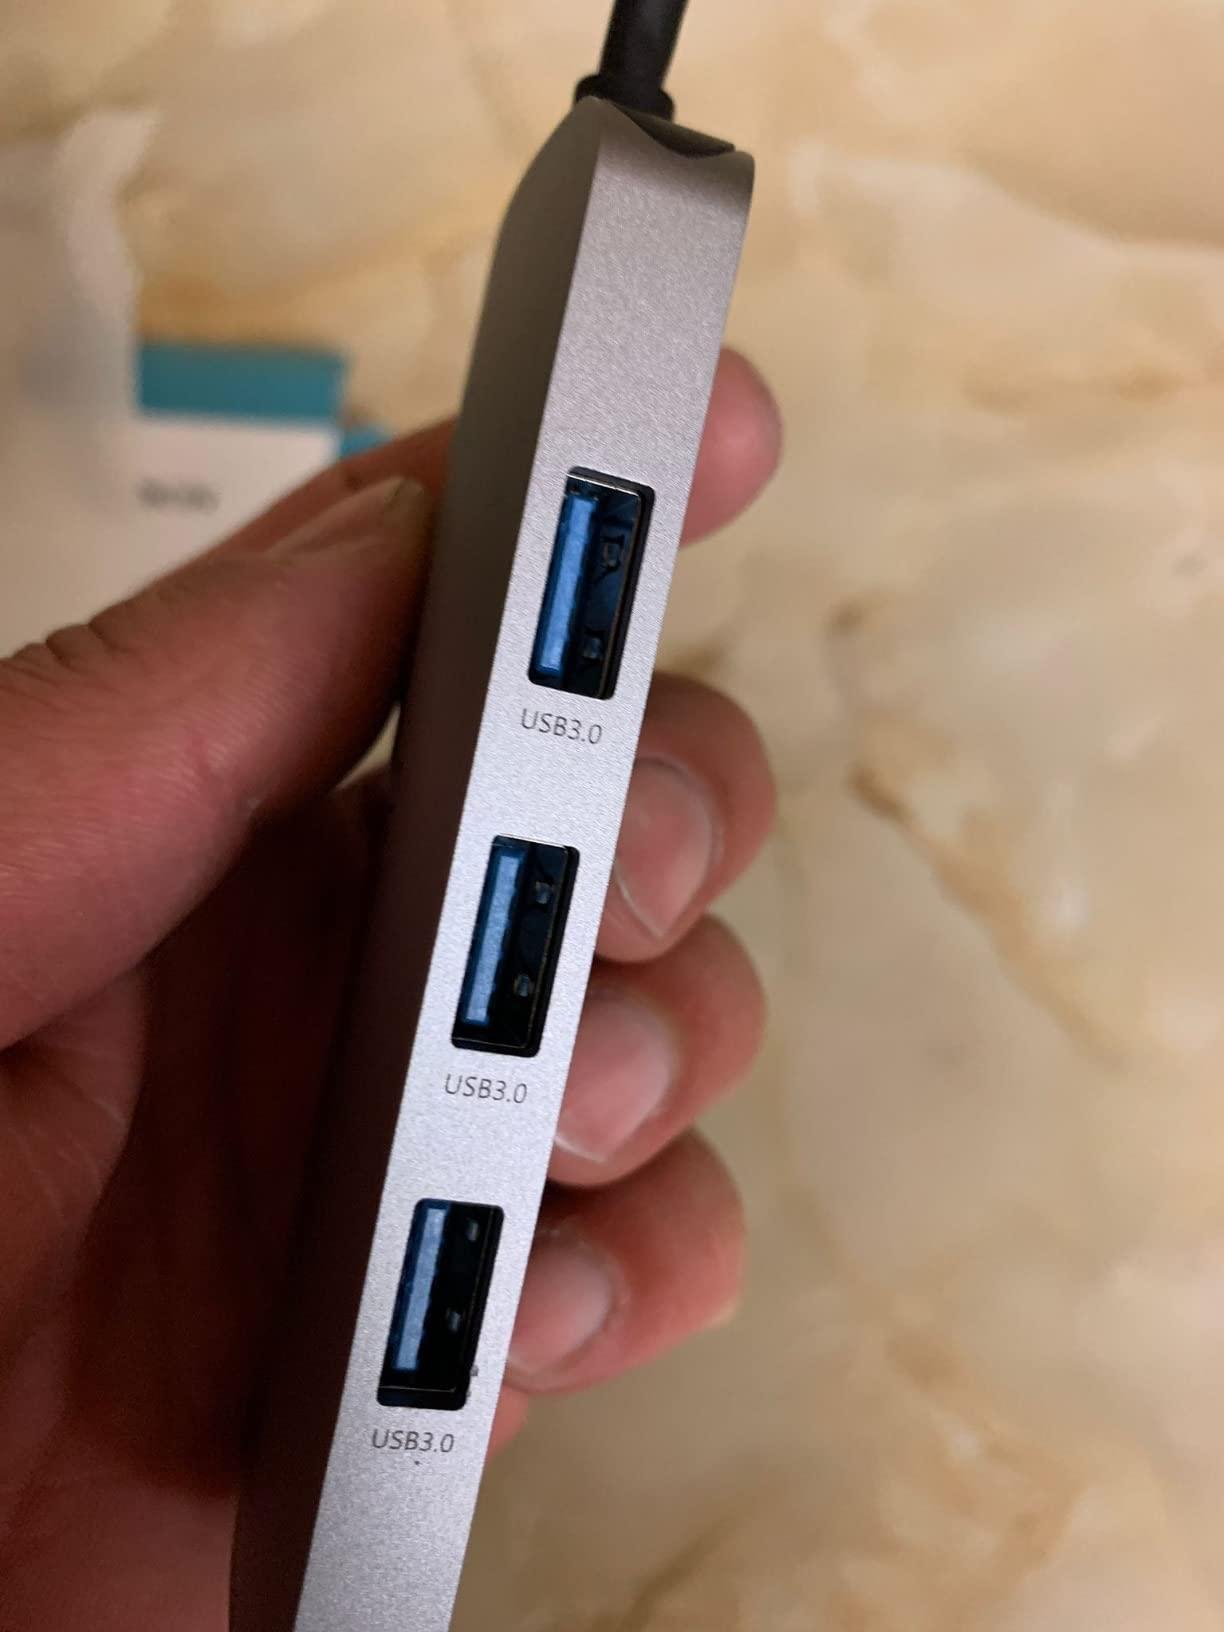
A multi-port USB hub is the most accessible way to multiply your MacBook Air’s connections without committing to a full docking station. These compact devices plug into one USB-C port and fan out into several connections—typically offering a mix of USB-A ports, an additional USB-C port, HDMI output, and sometimes an Ethernet jack or audio port. The key difference from a docking station is portability; hubs travel easily in a laptop bag, making them ideal for users who work from multiple locations. When choosing a hub, match the port selection to your workflow requirements. A photographer needs an SD card slot and USB-A for card readers. A presenter needs HDMI output and USB-A for a clicker. A developer might prioritize multiple USB-A ports and Ethernet over video output. Avoid hubs with more ports than you’ll actually use, as unused ports add bulk and cost without benefit. Focus on build quality and thermal management, since hubs that overheat during sustained use can throttle data speeds or disconnect intermittently.
High-Speed Data Transfer Solutions for External Devices
Moving large files—video footage, design assets, system backups—demands transfer speeds that not all accessories deliver equally. The technology behind your connection determines real-world performance. USB 3.0 offers speeds up to 5 Gbps, USB 3.1 Gen 2 doubles that to 10 Gbps, and Thunderbolt 3 or 4 pushes throughput to 40 Gbps. For MacBook Air users working with external SSDs, RAID arrays, or high-resolution media, choosing accessories that support the fastest protocol your workflow requires prevents bottlenecks that waste hours over time. When selecting a hub or adapter for data transfer, check that the USB-C ports explicitly support data at the advertised speed rather than charging only. Some budget accessories label ports as USB-C but limit data throughput to USB 2.0 speeds of 480 Mbps—a massive difference when transferring a 50GB video project. Thunderbolt-certified accessories cost more but deliver consistent, maximum-speed connections that justify the investment for professionals handling large files daily.
Step-by-Step Guide to Selecting the Right Accessories
Choosing the right MacBook Air accessories doesn’t require guesswork if you follow a structured approach. Start by assessing your specific workflow demands—ask yourself whether your primary pain point is insufficient ports for peripherals, unreliable charging during heavy use, slow file transfers, or all three. A video editor transferring daily footage has different priorities than a consultant who simply needs HDMI output and reliable power at client sites. Next, verify compatibility with your exact MacBook Air model. Check the Thunderbolt generation, supported display protocols, and maximum charging wattage your laptop accepts, since mismatched accessories underperform or fail entirely. Third, compare features across shortlisted products by focusing on port count, supported data transfer speeds, and power delivery wattage—prioritize accessories that cover your must-have connections without unnecessary extras. Fourth, weigh budget against brand reliability; established manufacturers like MOKiN and others with USB-IF or Thunderbolt certification offer safer long-term investments than unbranded alternatives prone to overheating or firmware issues. Finally, read user reviews from people with similar setups and workflows. Look for feedback on thermal performance during extended use, driver stability with macOS updates, and real-world transfer speeds rather than advertised maximums. Testing a product within its return window gives you confidence before committing permanently.
Integrating Accessories for Optimal Workflow Efficiency
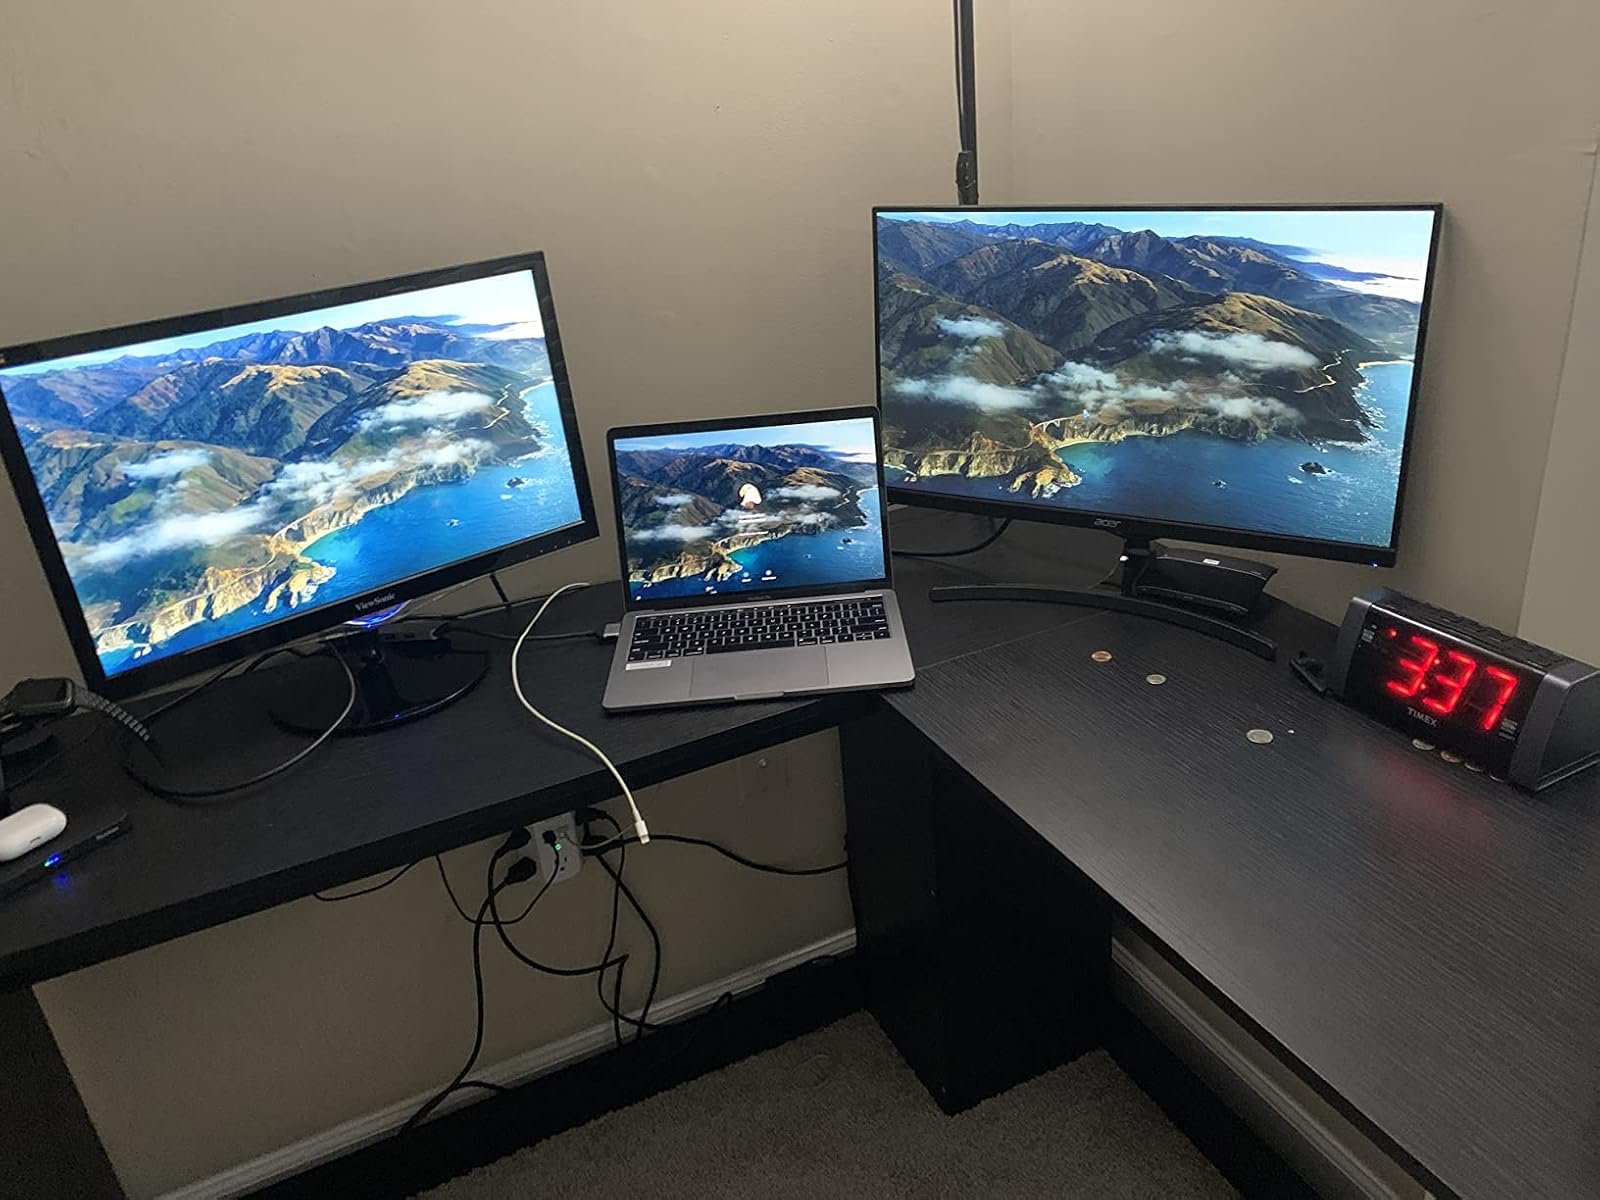
Owning the right accessories is only half the equation—how you combine and arrange them determines whether your setup actually feels seamless. The most effective approach pairs a docking station as your stationary home base with a compact multi-port USB hub for mobile use. At your desk, the dock handles your monitor, external storage, Ethernet, and charging through a single cable, creating a plug-and-play experience every time you return to your workspace. On the road, a lightweight hub covers presentation needs and quick file transfers without weighing down your bag. This dual-setup strategy ensures you’re never caught without the right connection regardless of location.
Cable management deserves deliberate attention since tangled connections introduce points of failure and visual chaos. Route cables behind your desk using adhesive clips, keep your dock positioned within arm’s reach for easy access to front-facing ports, and use short cables between closely placed devices to reduce slack. For stability, avoid daisy-chaining multiple hubs together—this splits bandwidth and power unpredictably, causing disconnections or throttled speeds under load. If you notice intermittent device dropouts, check that your dock’s firmware is current and that macOS is updated, as compatibility patches frequently resolve connection issues. Periodically inspect your USB-C cables for bent pins or fraying, since a damaged cable can mimic accessory failure. With thoughtful integration, your accessories disappear into the background and your workflow stays uninterrupted.
Building a Port-Expanded MacBook Air Setup That Works
Selecting the right accessories for your MacBook Air transforms a port-limited ultrabook into a fully capable workstation that matches your ambitions. The key takeaways are straightforward: a MacBook Air docking station serves as your centralized connection point for desk-based work, eliminating the daily hassle of plugging and unplugging multiple cables. A multi-port USB hub extends that flexibility to mobile environments where portability matters. Accessories supporting 100W power delivery ensure your laptop charges reliably even under heavy peripheral loads, while high-speed data transfer solutions built on USB 3.1 or Thunderbolt protocols prevent file-moving bottlenecks that silently drain hours from your week. Apply the step-by-step selection process outlined earlier—assess your workflow needs, verify model compatibility, compare specifications, evaluate brand reliability, and test within return windows—to make confident purchasing decisions rather than impulse buys you’ll regret. The right combination of accessories doesn’t just add ports; it removes friction from every task you perform. When your tools work together invisibly, your focus stays where it belongs: on the work itself.